Import & Export
Import Center
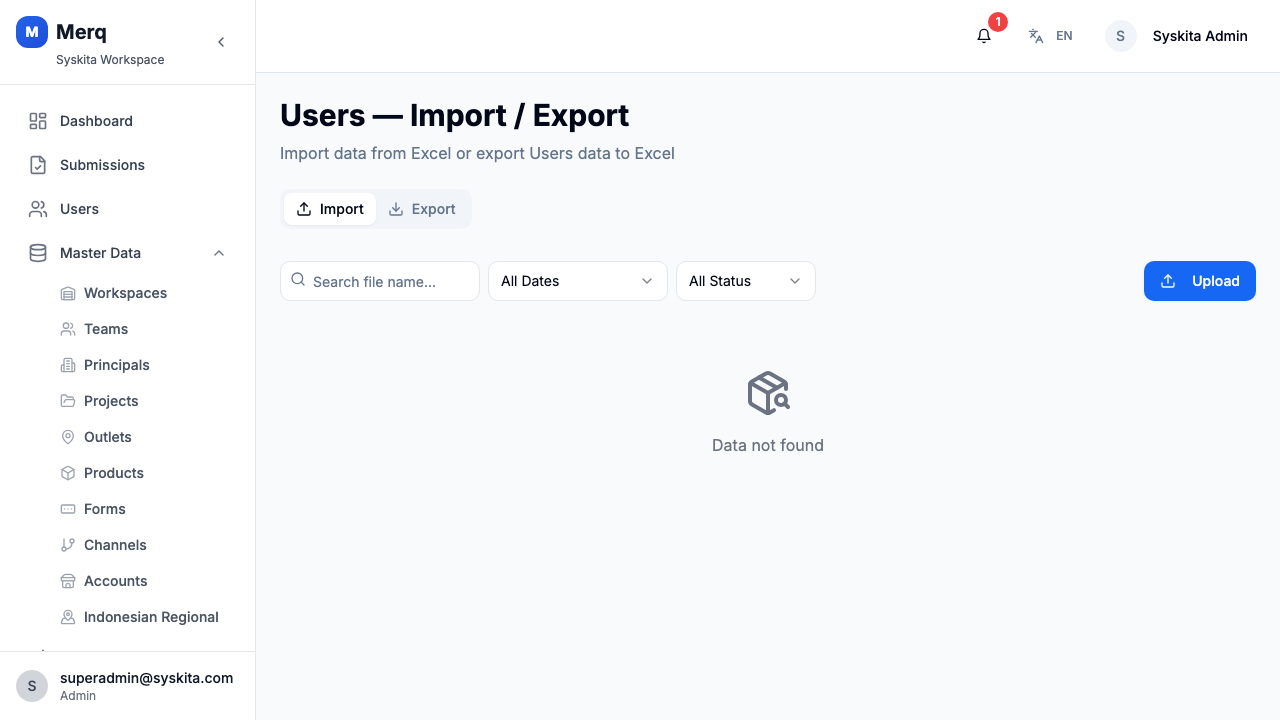
Section titled “Import Center”The Import Center provides a 5-step wizard for bulk importing data from Excel files. This is the recommended way to load large numbers of outlets, users, visits, or other entities.
Navigate to Import Center in the sidebar.
Supported Entity Types
Section titled “Supported Entity Types”| Entity | Description |
|---|---|
| Users | Frontliners, managers, and other staff |
| Products | Product catalog for stock and sales reporting |
| Outlets | Store locations with address and GPS data |
| Teams | Team definitions |
| Principals | Client brand records |
| Visits | Scheduled visit assignments |
Import Wizard Steps
Section titled “Import Wizard Steps”Step 1: Download Template
Section titled “Step 1: Download Template”Select the entity type, then download the Excel template. The template includes all required columns and an example row.
Step 2: Select Entity Type
Section titled “Step 2: Select Entity Type”Choose which entity you are importing from the dropdown.
Step 3: Upload File
Section titled “Step 3: Upload File”Drag and drop your completed Excel file (.xlsx or .xls, maximum 2 MB) onto the upload zone, or click to browse.
Step 4: Validate
Section titled “Step 4: Validate”The system validates every row in the file and displays:
| Count | Meaning |
|---|---|
| Valid rows | Rows ready to import |
| Error rows | Rows with validation failures (missing required fields, wrong format) |
| Conflict rows | Rows that already exist in the database |
You can download the validation result as an Excel file to see which rows failed and why.
Step 5: Choose Merge Mode & Commit
Section titled “Step 5: Choose Merge Mode & Commit”Select how to handle existing records:
| Mode | Behavior |
|---|---|
| APPEND | Only add new records; skip any that already exist |
| REPLACE | Update existing records with new data from the file |
| REPLACE_ALL | Delete all existing records of this type and replace with the file |
Click Commit to execute the import.
Export Center
Section titled “Export Center”The Export Center provides one-click export of any entity type. Exports are processed asynchronously and can be downloaded when ready.
Navigate to Export Center in the sidebar.
[Screenshot: web_export_center]
Quick Export Grid
Section titled “Quick Export Grid”Seven export tiles are displayed:
| Entity | Description |
|---|---|
| Users | All user accounts |
| Products | Full product catalog |
| Outlets | All outlet records |
| Teams | All teams |
| Principals | All principals |
| Submissions | All submission records |
| Visits | All visit records |
Click any tile to trigger an export job. A notification will appear showing the row count and, once ready, a download URL.
Export History
Section titled “Export History”The Export History table below the grid shows all past export jobs with pagination:
| Column | Description |
|---|---|
| Entity | What was exported |
| Row Count | Number of records exported |
| Status | Processing / Ready / Failed |
| Created At | When the job was triggered |
| Download | Link to the generated file |
[Screenshot: web_export_history]
Export files are typically CSV format and include all fields for the selected entity.